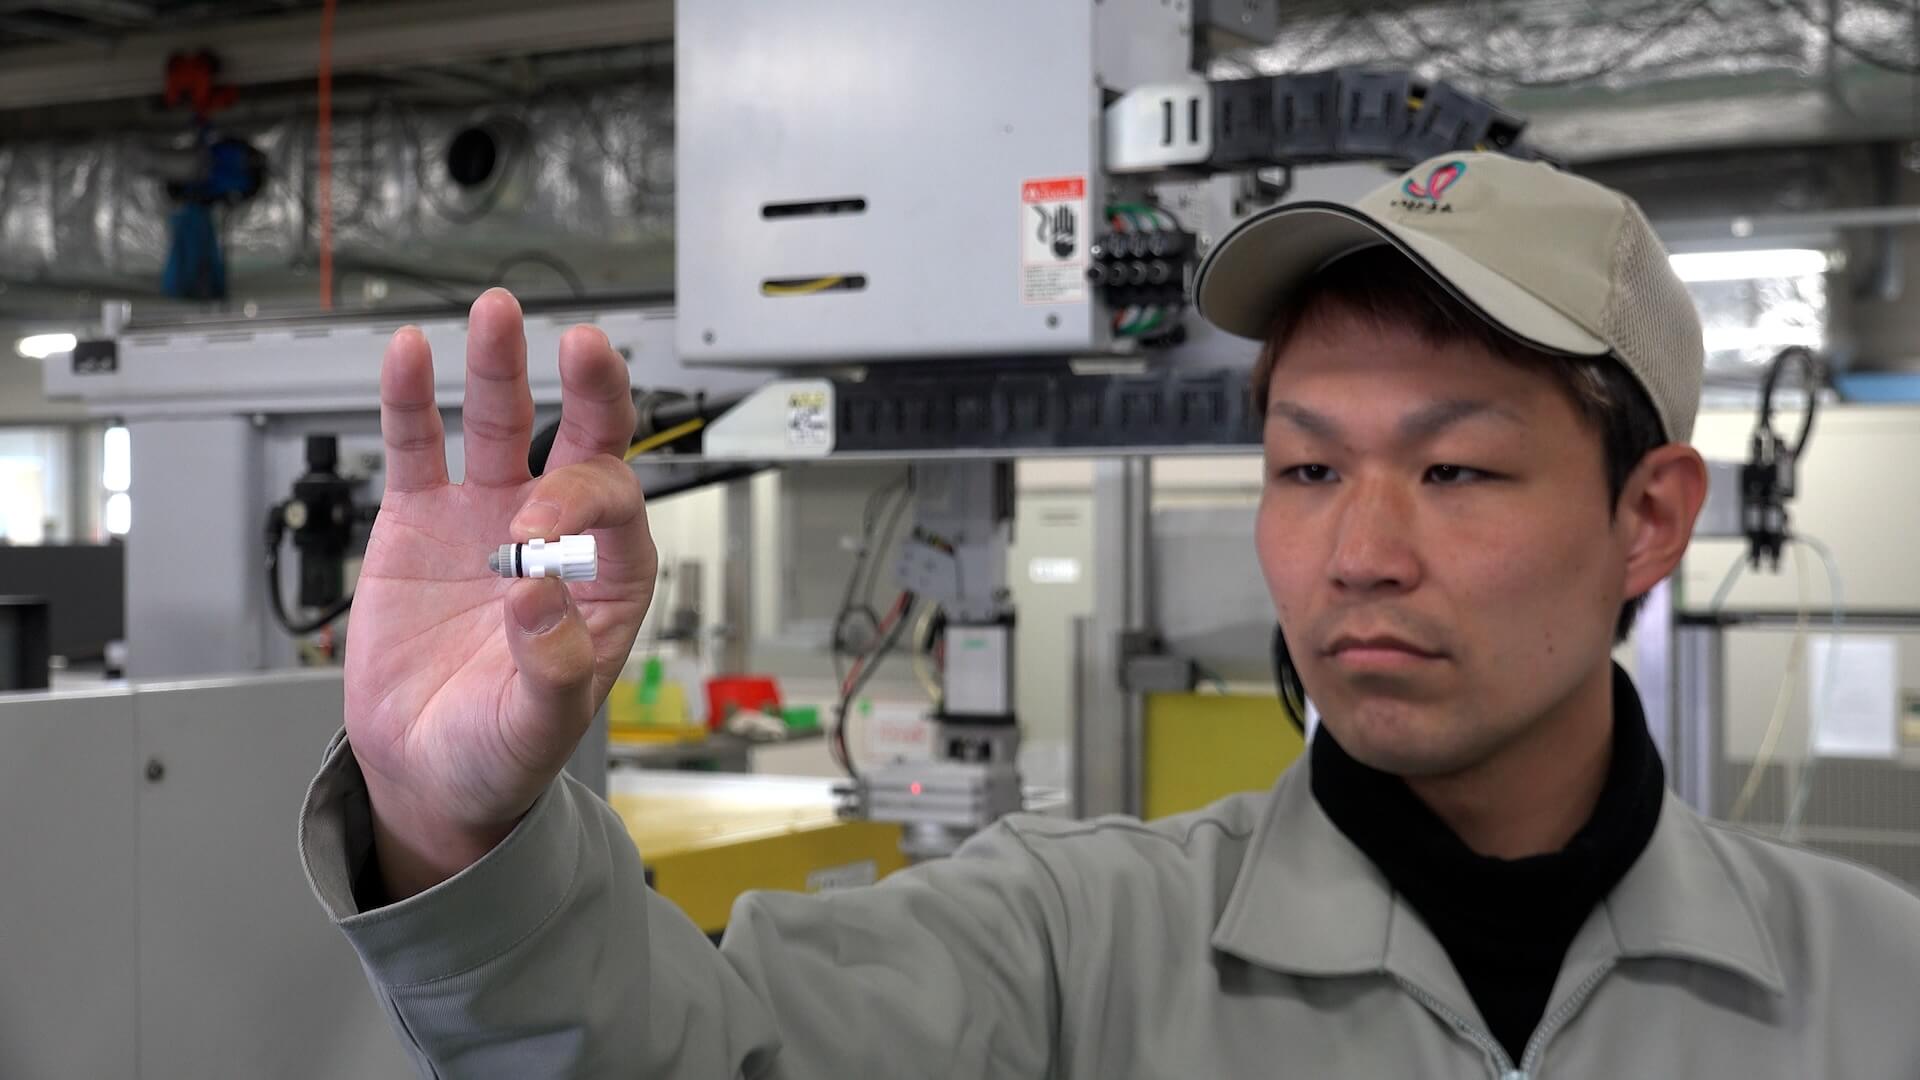
Clean your spray nozzles in 8 easy steps:
Spray nozzles should be cleaned regularly for an optimized performance and lifespan. Thousands of euros can be saved annually by regularly maintaining your spray nozzles and replacing them in time.
1: Prepare the necessary materials
You will need warm water, a small bowl or container, mild dish soap or a suitable cleaning solution, a soft brush or toothbrush, and a clean cloth. Always remember to use a non-corrosion cleaning agent.
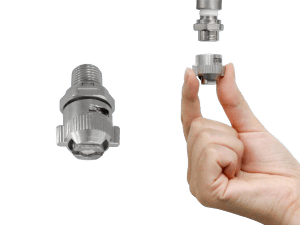
2:Remove the nozzle
If possible, detach the spray nozzle from the bottle or sprayer. This will allow for easier cleaning and ensure that the nozzle is thoroughly cleaned.
3: Rinse with warm water:
Hold the nozzle under warm running water to remove any excess residue or debris. This initial rinse helps to loosen any clogs or build-up.
4: Soak in
Prepare a mixture of warm water and mild dish soap or a suitable cleaning solution in a small bowl or container. Place the nozzle in the solution and let it soak for about 10-15 minutes. This will help break down any stubborn residue.
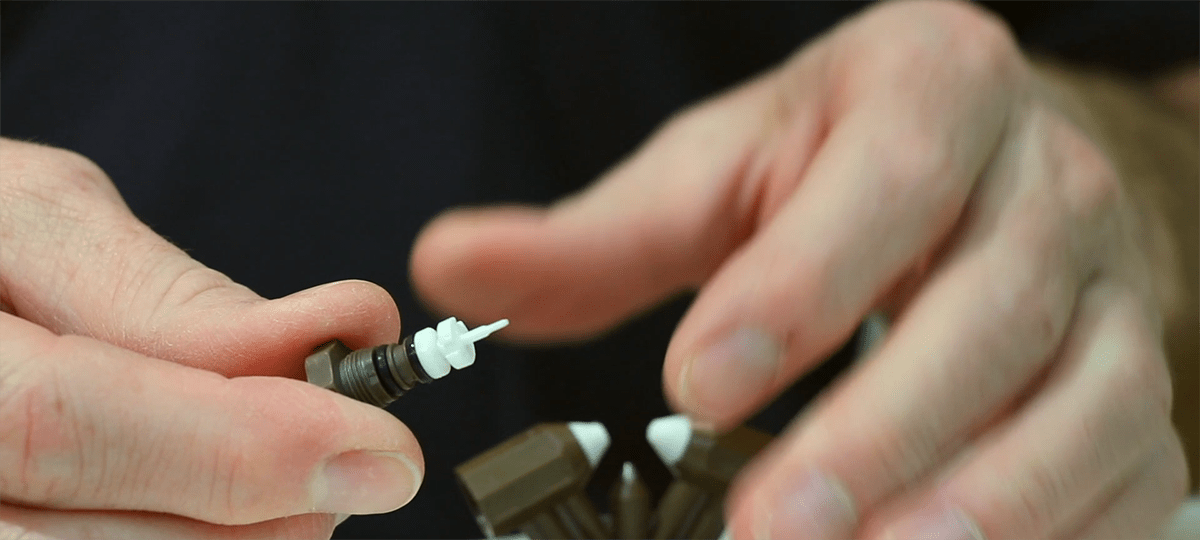
5: Scrub the nozzle
After soaking, take a soft brush or toothbrush and gently scrub the nozzle. Never use a metal object to clean a spray nozzle and always use a material which is softer than the nozzle material. Pay close attention to the openings and crevices, ensuring that any residue or blockage is removed. Be careful not to use excessive force, as it may damage the nozzle.
6: Rinse thorough
Rinse the nozzle under warm water to remove the cleaning solution and any loosened debris. Ensure that all the soap or cleaning solution is thoroughly rinsed off.
7: Dry the nozzle
Use a clean cloth to pat dry the nozzle or let it air dry before reattaching it to the spray bottle or sprayer. Make sure it is completely dry before reassembling.
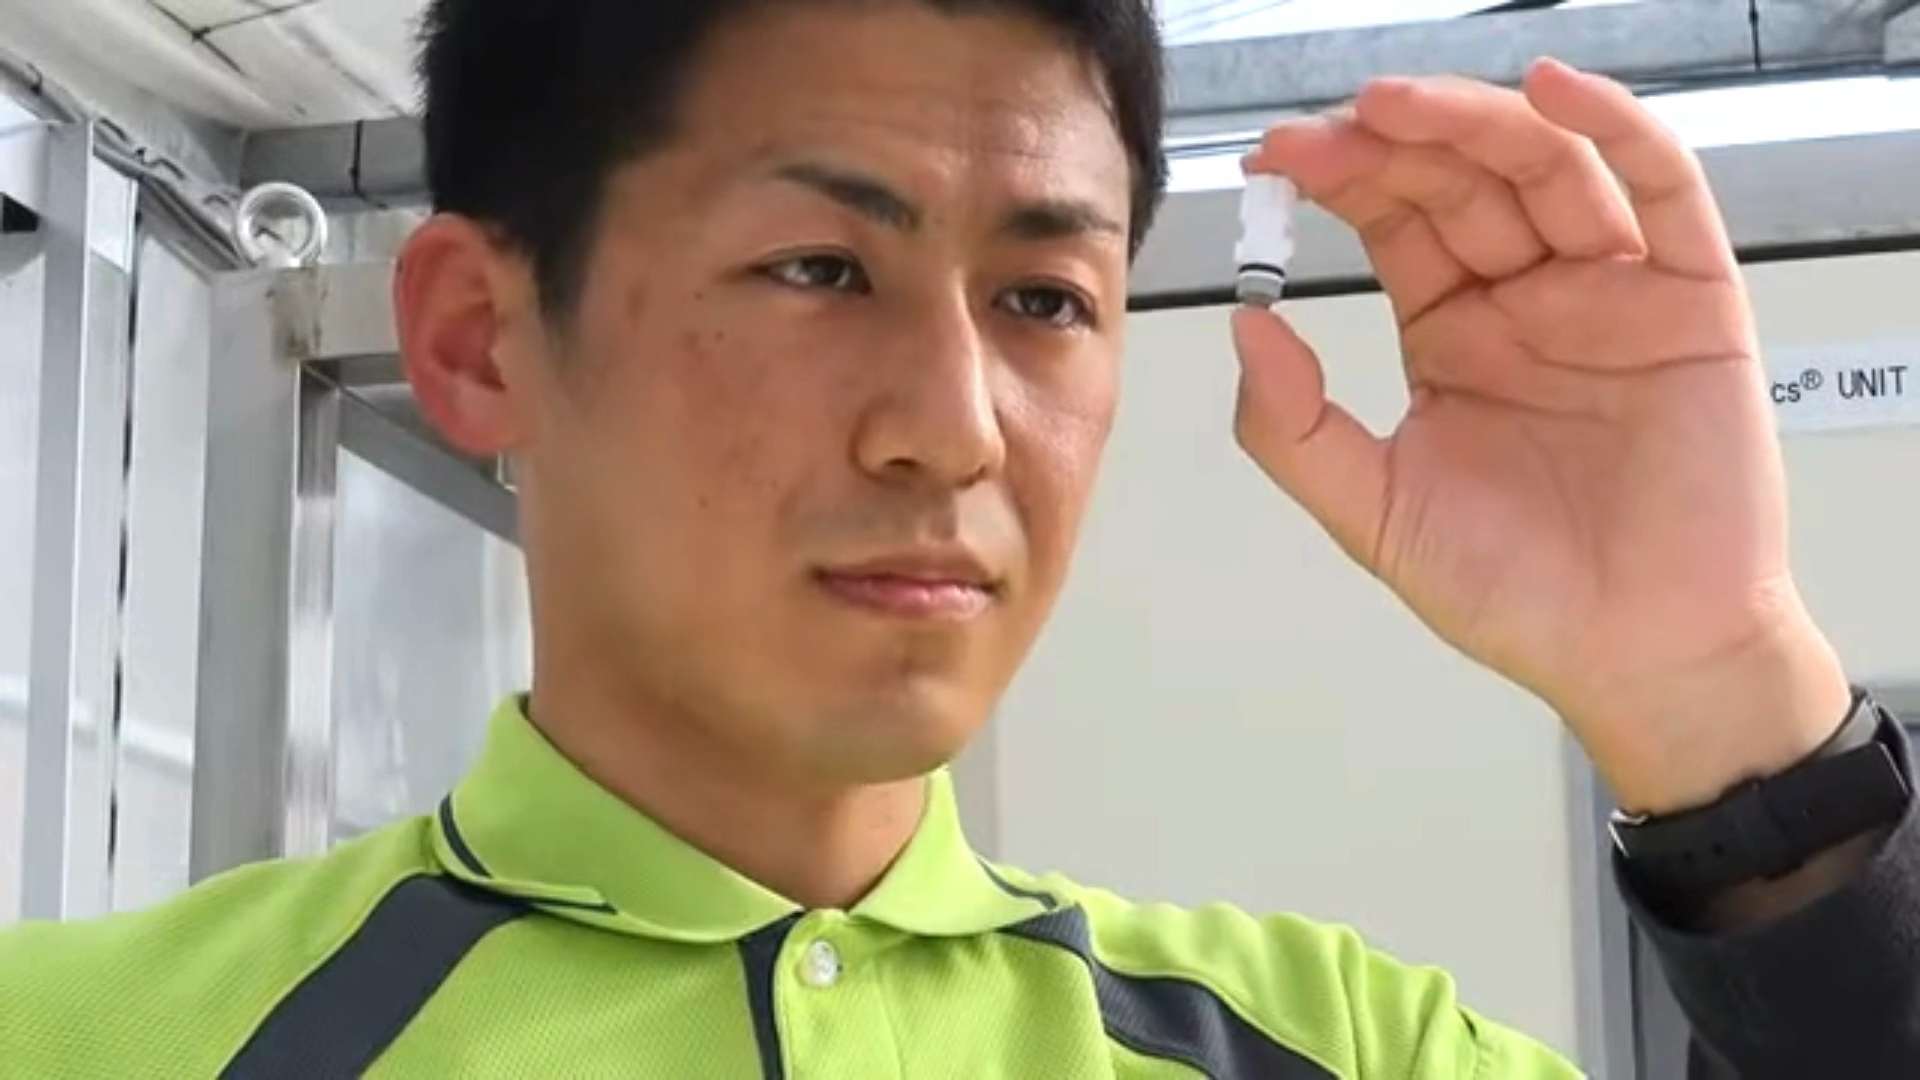
8: Test the nozzle
Once dry, reattach the nozzle to the bottle or sprayer and test it by spraying some water or the intended liquid. Ensure that the nozzle is functioning properly and there are no remaining blockages.
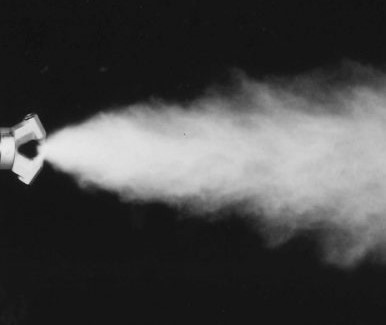
Testing the nozzle after cleaning
- Inspect for damages
- Check the alignment
- Check the spray pattern
- Inspect the flow rate
When should you replace your spray nozzles?
If you notice that the spray pattern is uneven, inconsistent, or has become distorted, it may indicate wear or damage to the nozzle. This can affect the efficiency and effectiveness of the spray.
If the nozzle frequently clogs or gets blocked, even after thorough cleaning, it could be a sign of nozzle deterioration. Over time, nozzles can develop internal deposits or corrosion that impede proper flow.
If the nozzle is leaking or dripping even when not in use, it could indicate a worn-out seal or damage to the nozzle. This can result in wasted product and reduced spraying accuracy.
Check the nozzle for any visible signs of damage such as cracks, breaks, or significant wear. Physical damage can affect the spray pattern, flow, and overall performance of the nozzle.
With regular use, spray nozzles can wear down over time. If you notice significant wear, such as flattened or deformed spray orifices, it may be an indication that the nozzle needs to be replaced.
If you observe a significant decrease in spray distance, coverage, or overall performance compared to when the nozzle was new, it may be time for a replacement.
Looking for a more sustainable solution?
Ceramic nozzles have a longer lifespan
- Higher wear resistance
- Higher chemical resistance
- Higher temperature resistance
- Higher rigidity
Related articles

Stay updated: Ikeuchi news & insights
"*" indicates required fields
Get expert advice:
contact us today
Would you like to know what Ikeuchi can do for your organization? We’re happy to discuss your needs and show how we can solve your challenges. You’ll receive a response from us within 24 hours!
"*" indicates required fields
Call us: +31 (0) 20 820 2175
- Global presence and experience
- The number 1 nozzle manufacturer in Japan
- Japanese Precision Technology
“High quality nozzles. Friendly and helpful customer service”
“With Ikeuchi spray nozzles we are able to save costs as we don’t need to replace them so often as before.”
“When it is about nozzle technology, IKEUCHI are the experts. We always highly appreciated their knowhow and their extremely wide range of nozzles, not to mention their unrivalled AKIMist humidifier”
“When it is about nozzle technology, IKEUCHI are the experts. ”